How do I schedule an in-office appointment in the Tendo iOS app?
When supported by your provider, you can schedule an in-office appointment directly in the Tendo iOS app.
Note: If you received an invitation from your provider to try Tendo for appointment scheduling, please reference this lesson beginning at the Schedule Appointment heading.
Notes:
Appointment types and available appointment dates are determined and updated by your healthcare provider.
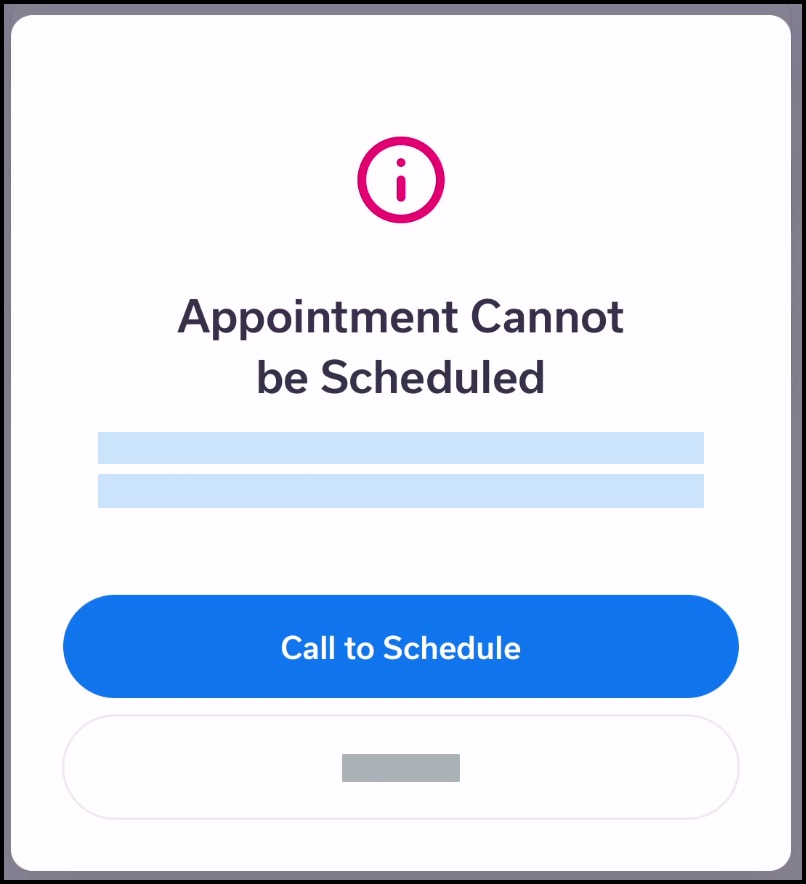
If an appointment cannot be scheduled via the app, the provider page asks you to contact your provider’s office via telephone.
Some providers may allow you to schedule an appointment virtually. Learn how to schedule a virtual appointment.
Get Care
In the Homepage, tap the Get Care button.

Locate Provider
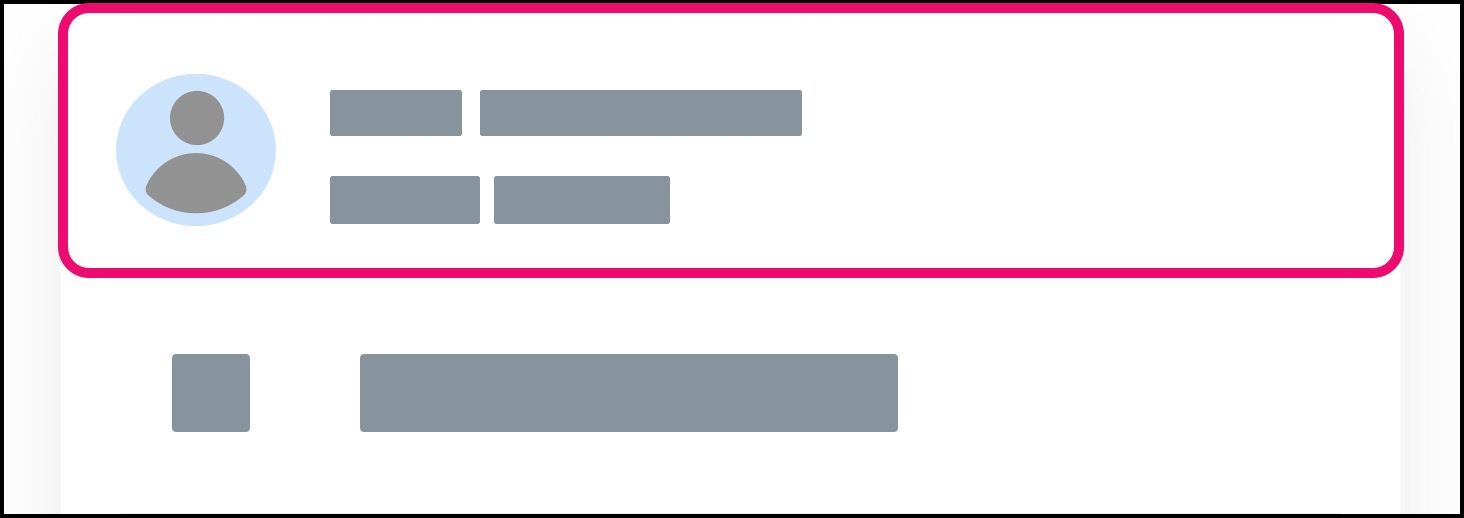
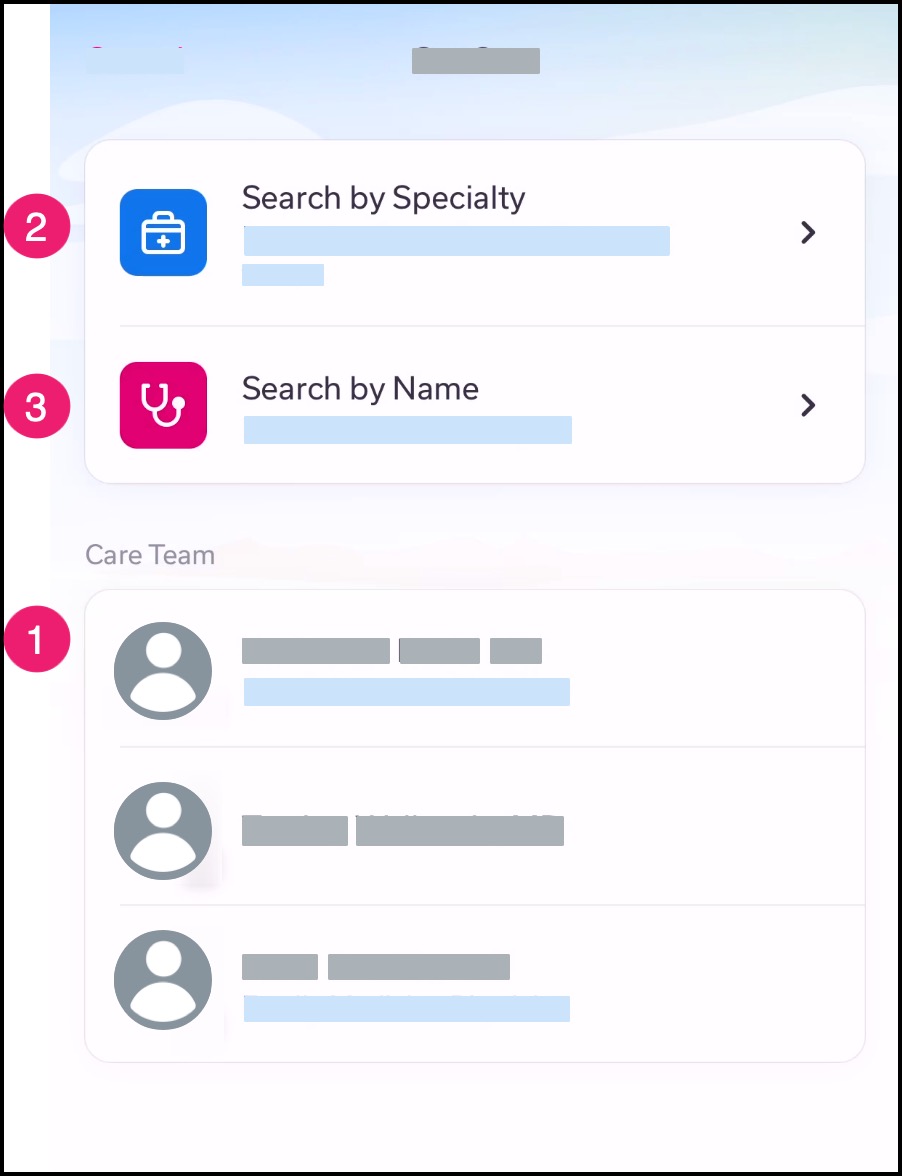
Locate a provider that supports online appointment scheduling through the Tendo app [1].
Note: You can also search for a new provider by name [2], or search for a new provider by speciality [2].
Schedule Appointment
Tap the Schedule Appointment button.
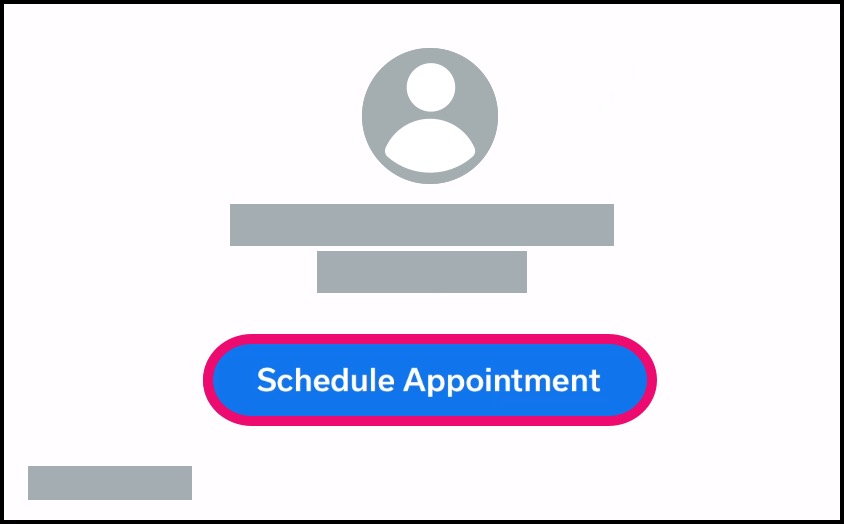
Note: Some providers may include additional questions regarding your appointment type. If at any time you are not able to schedule your appointment online, a message will display notifying you that you must contact your provider via telephone.
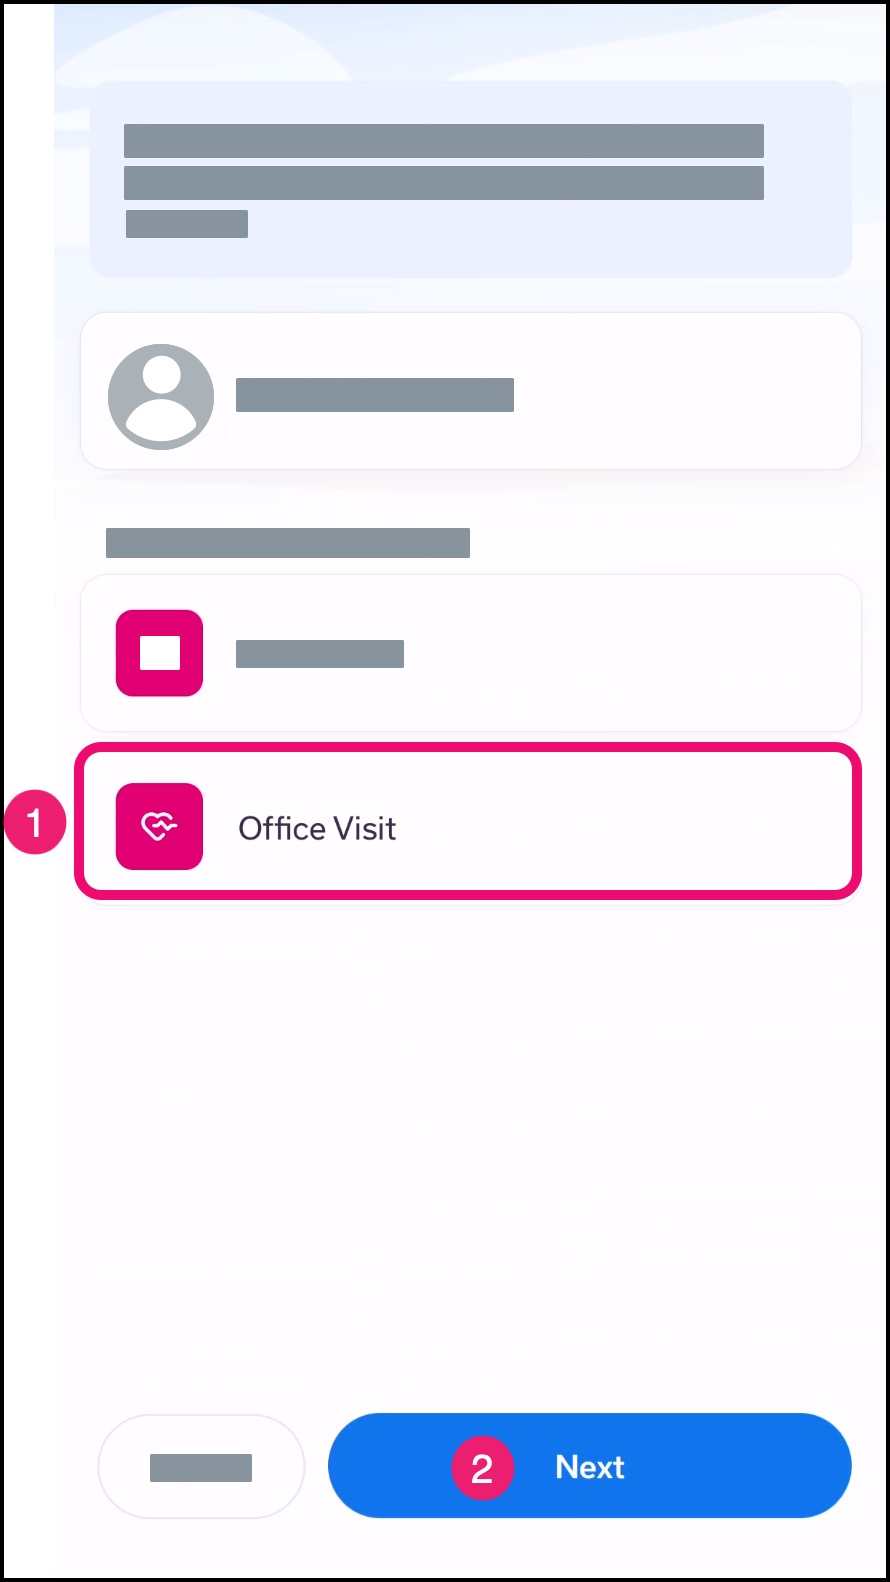
Select Appointment Type
Select the in-office appointment type you want to schedule [1], then click the Next button [2].
Note: Some providers may have more than one in-office appointment type. If a provider only has one appointment type, the appointment type will be selected by default.
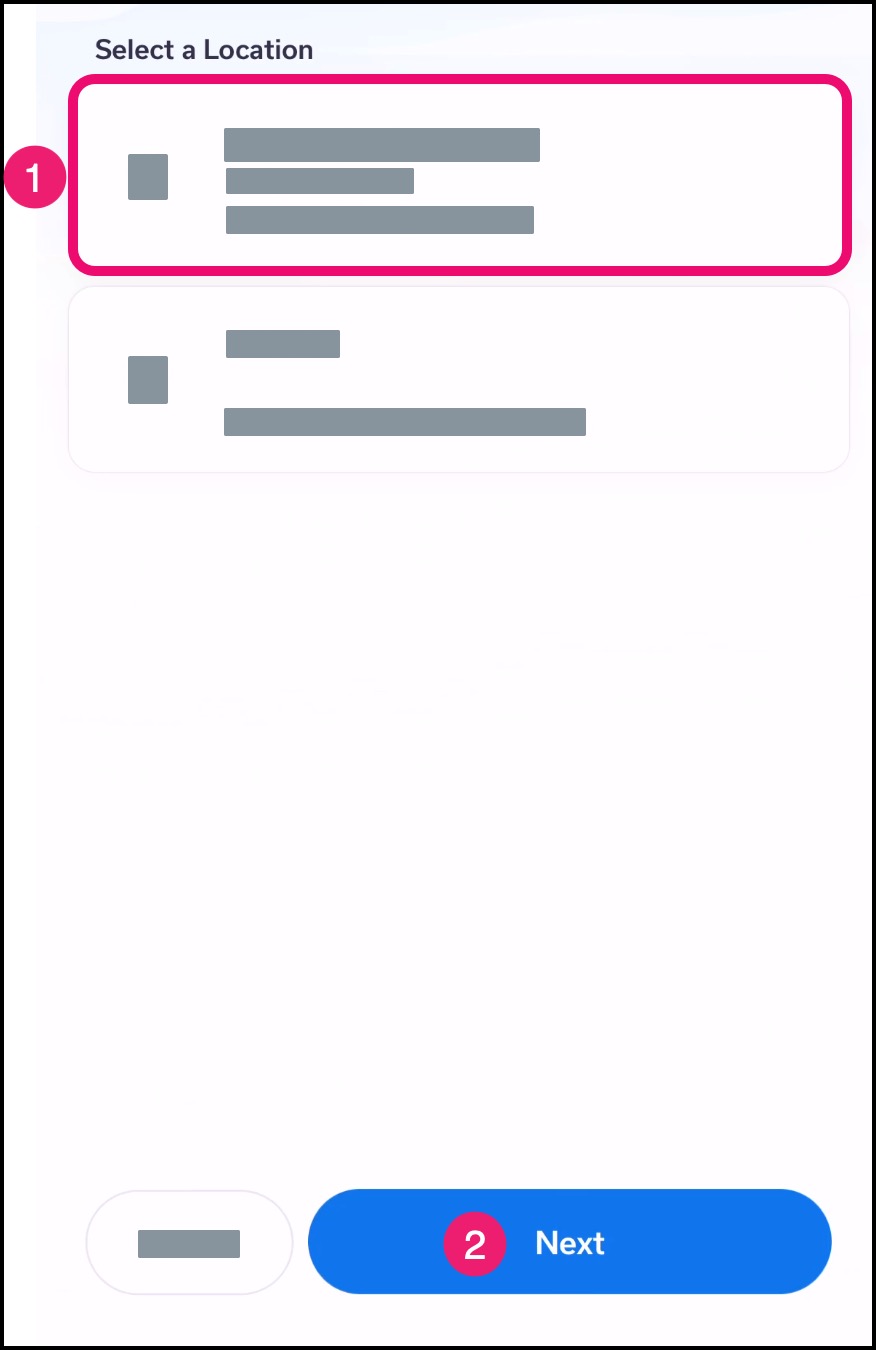
Select Location
Tap your preferred location for the provider.
Note: If your provider is only associated with one location, the location will be selected by default.
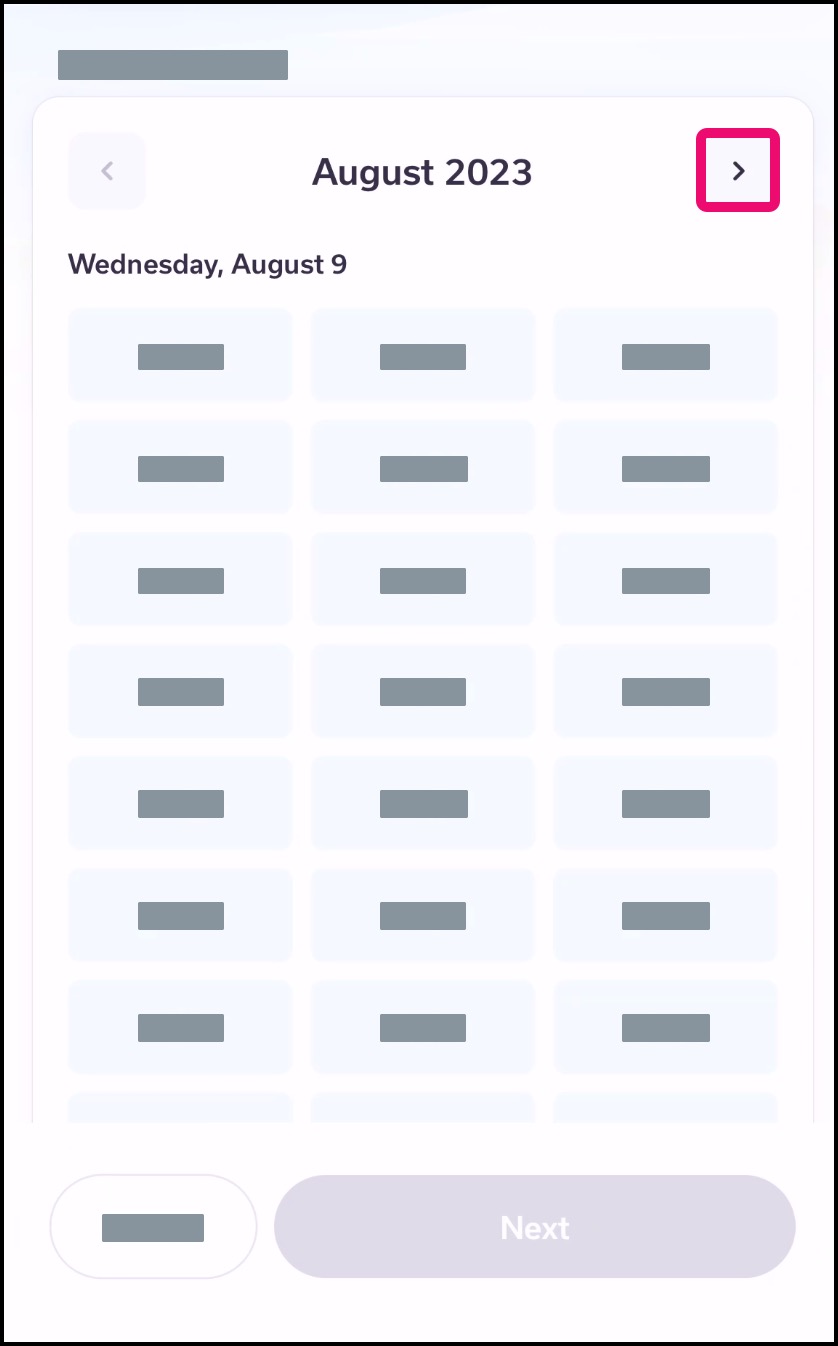
Select Date
Dates are loaded by week. To view the entire week, scroll down the window. If additional weeks are available for viewing, the View More button will display in the page.
To advance to an upcoming month, click the Calendar arrow.
Click your preferred date for an appointment.
Note: If no dates are available, click the Back arrow and try to select a different location for your provider.
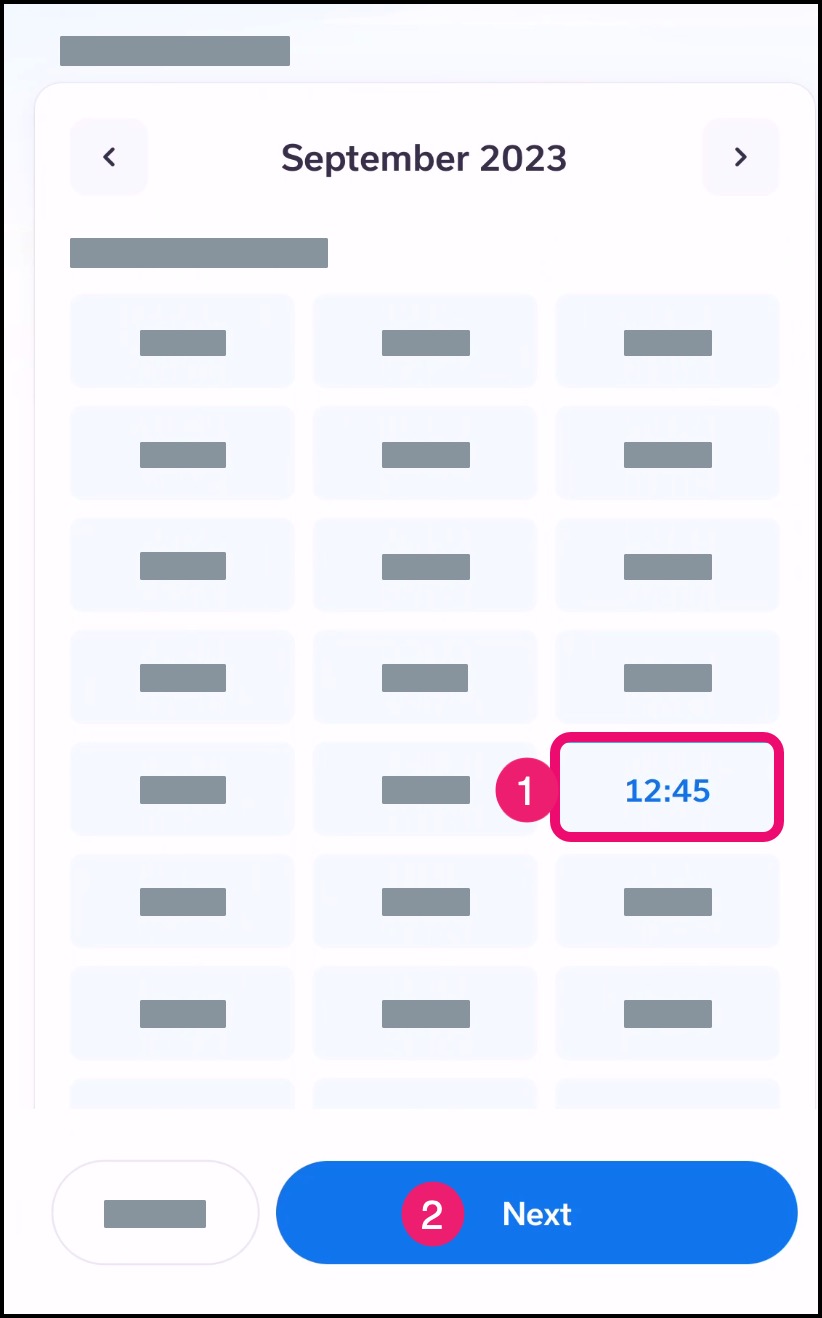
Select Time
Click your preferred time for the appointment [1], then click the Next button [2].
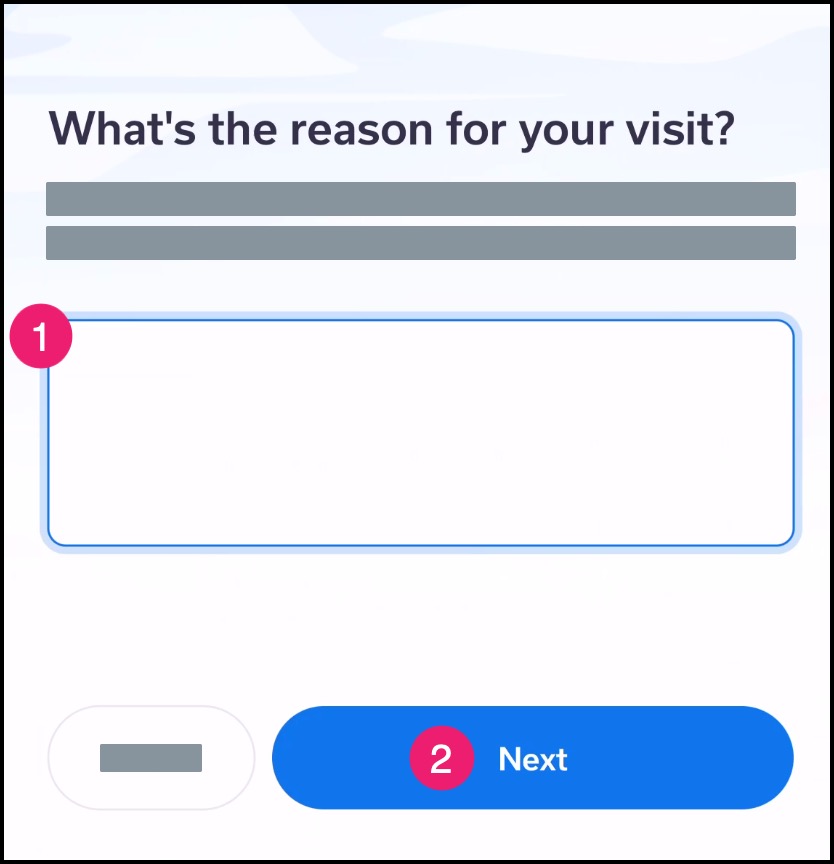
Specify Reason for Visit
In the text field [1], describe your symptoms, if applicable. Be as specific as possible with what you are experiencing. Then click the Next button [2].
Schedule Appointment
View the details of the appointment to ensure all data was selected correctly.
To change any information for the appointment, click the back arrow [1]. Otherwise click the Schedule button [2].

Confirm Appointment
View the confirmation page for your appointment.
To add the appointment to your calendar, tap the Add to Calendar button [1].
To schedule a ride to your appointment, tap the Need a ride? button [2].
Otherwise, tap the Close button [3].

View Appointment Details
If you want to view and manage details of your appointment, locate the appointment on the Homepage and tap the appointment date and time.
Note: If you received an invitation from your provider to try Tendo for appointment scheduling, you can manage your appointment by creating a Tendo account using the confirmation email sent to your inbox.